Yo what’s up, it’s your boy Tweaks PH!
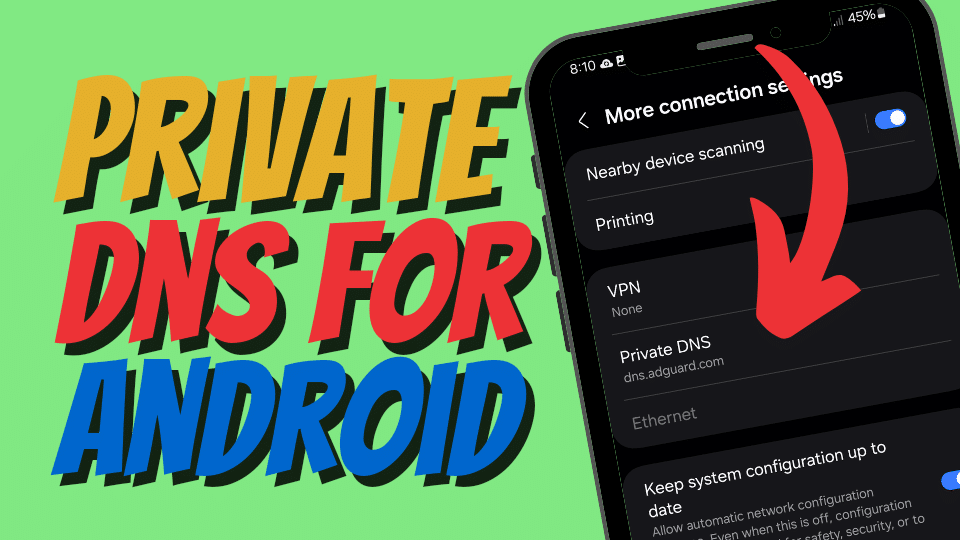
Tired of annoying ads popping up while using your apps? Want a smoother and ad-free experience on your Android phone? You’re in the right place! Today, I’m going to show you how to set up a private DNS server on any device. This is a great way to block ads and enjoy a cleaner browsing experience. Let’s get started!
What Is This For?
Setting up a private DNS server helps you block ads and trackers across all apps on your device. By using a private DNS, you can enjoy an ad-free experience and enhance your privacy online. It’s especially useful if you’re tired of ads interrupting your app usage.
How To Setup Your Private DNS Server
- Open Settings:
- On your Android phone, go to the “Settings” app.
- Network & Internet:
- Tap on “Network & internet.”
- Advanced:
- Scroll down and tap on “Advanced.”
- Private DNS:
- Tap on “Private DNS.”
- Configure Private DNS:
- Select “Private DNS provider hostname.”
- Enter the hostname of the private DNS server you want to use. Here are some popular options:
dns.adguard.com(AdGuard DNS)1dot1dot1dot1.cloudflare-dns.com(Cloudflare DNS)dns.google(Google Public DNS)
- Tap “Save” to apply the changes.
Popular Private DNS Servers
- AdGuard DNS:
- Hostname:
dns.adguard.com - Blocks ads and trackers.
- Cloudflare DNS:
- Hostname:
1dot1dot1dot1.cloudflare-dns.com - Provides fast and secure DNS resolution.
- Google Public DNS:
- Hostname:
dns.google - Reliable and widely used DNS service.
Need More Help?
If these steps seem a bit tricky or you need more guidance, don’t worry! I’ve got a detailed video tutorial just for you. Click the link below to watch me walk you through the entire process.
Watch the Video Tutorial Here:
Disclaimer
The information provided in this blog is for educational and informational purposes only. Always refer to your device’s manual and guidelines. Tweaks PH is not responsible for any issues that may arise from following these tips.
That’s it for now! Try setting up a private DNS and enjoy an ad-free experience on your device. Let me know in the comments if it worked for you. And as always, don’t forget to like, subscribe, and hit that notification bell for more awesome tech tips and tricks.
Catch you later,
Tweaks PH


